Custom production tooling can be a significant upfront investment in private-label toy development. Once hardened steel cavities are machined, altering character proportions or wall transitions may require tooling rework, with cost and schedule dependent on the design and mold stage.
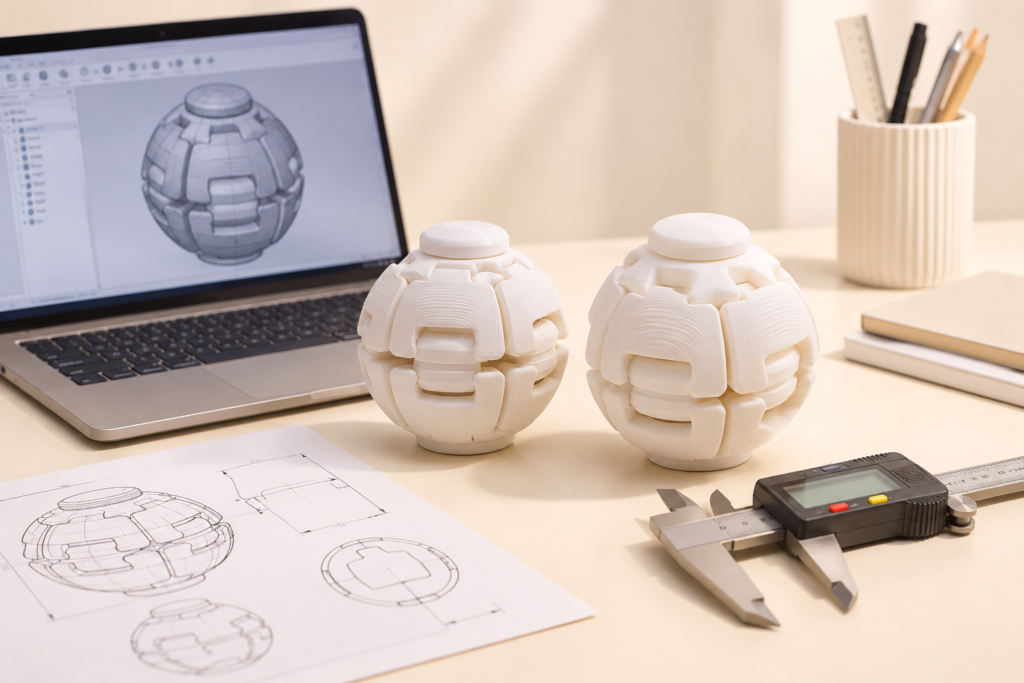
Integrating 3d printed prototypes for custom toy molds into the early engineering workflow allows brand teams to inspect physical dimensions, ergonomics, and retail box clearances before authorizing steel fabrication. Utilizing 3d printed prototypes for custom toy molds effectively bridges the gap between flat 2D concept sketches and mass-production tooling.
Table of Contents
Verify Ergonomics, Proportions, and Shelf Presence in Hand
On-screen 3D CAD renderings often distort perceived scale, making small characters look larger or hand grips feel more substantial than they actually are.
When evaluating 3d printed prototypes for custom toy molds, product development teams assess physical geometry directly:
- Palm Ergonomics and Grip Comfort: Holding a physical 1:1 resin or filament print reveals immediately whether a stress reliever sits comfortably in the target user’s hand or feels awkward to squeeze.
- Facial Feature Relief and Sculpting: Raised eyes, noses, and ears that look subtle on a computer monitor may appear overly sharp or too flat once printed in three dimensions. Changing a CAD model is often simpler than revising completed production tooling, although timing varies by project.
- Mechanical Mechanism Clearances: For moving novelties, a Press-to-Spin Fidget Ball can illustrate why engineers should check housing alignment and external clearances on suitable functional prototypes; a rigid appearance print alone does not validate button travel.
Validating physical ergonomics with 3d printed prototypes for custom toy molds prevents expensive dimensional surprises after mold trials.
Separate Visual Geometry Verification From Final Material Feel
While rapid prototyping excels at confirming shape and size, buyers must recognize what a 3D print cannot demonstrate.
A common mistake in custom OEM projects is expecting 3d printed prototypes for custom toy molds to replicate final production hand feel:
- Rigid vs. Elastomeric Behavior: Most standard stereolithography (SLA) or fused deposition modeling (FDM) prints use rigid photopolymers or semi-flexible filaments that behave very differently from molded thermoplastic rubber (TPR) or polyurethane foam.
- Surface Texture and Parting Lines: Layered print lines require sanding and priming to simulate smooth molded finishes, and printed parts do not show actual mold parting lines or injection gate witness marks.
- Two-Stage Approval Process: Smart OEM buyers approve visual geometry and dimensions on the 3D print first, then approve softness, rebound, and surface finish on molded trial samples made with the intended production process.
Keeping shape approval distinct from elastomer hand-feel approval ensures clear communication throughout 3d printed prototypes for custom toy molds reviews.
Test Retail Packaging Fit and Countertop Display Layouts
A custom toy silhouette must fit smoothly inside its intended retail box or countertop display tray without pinching delicate features.
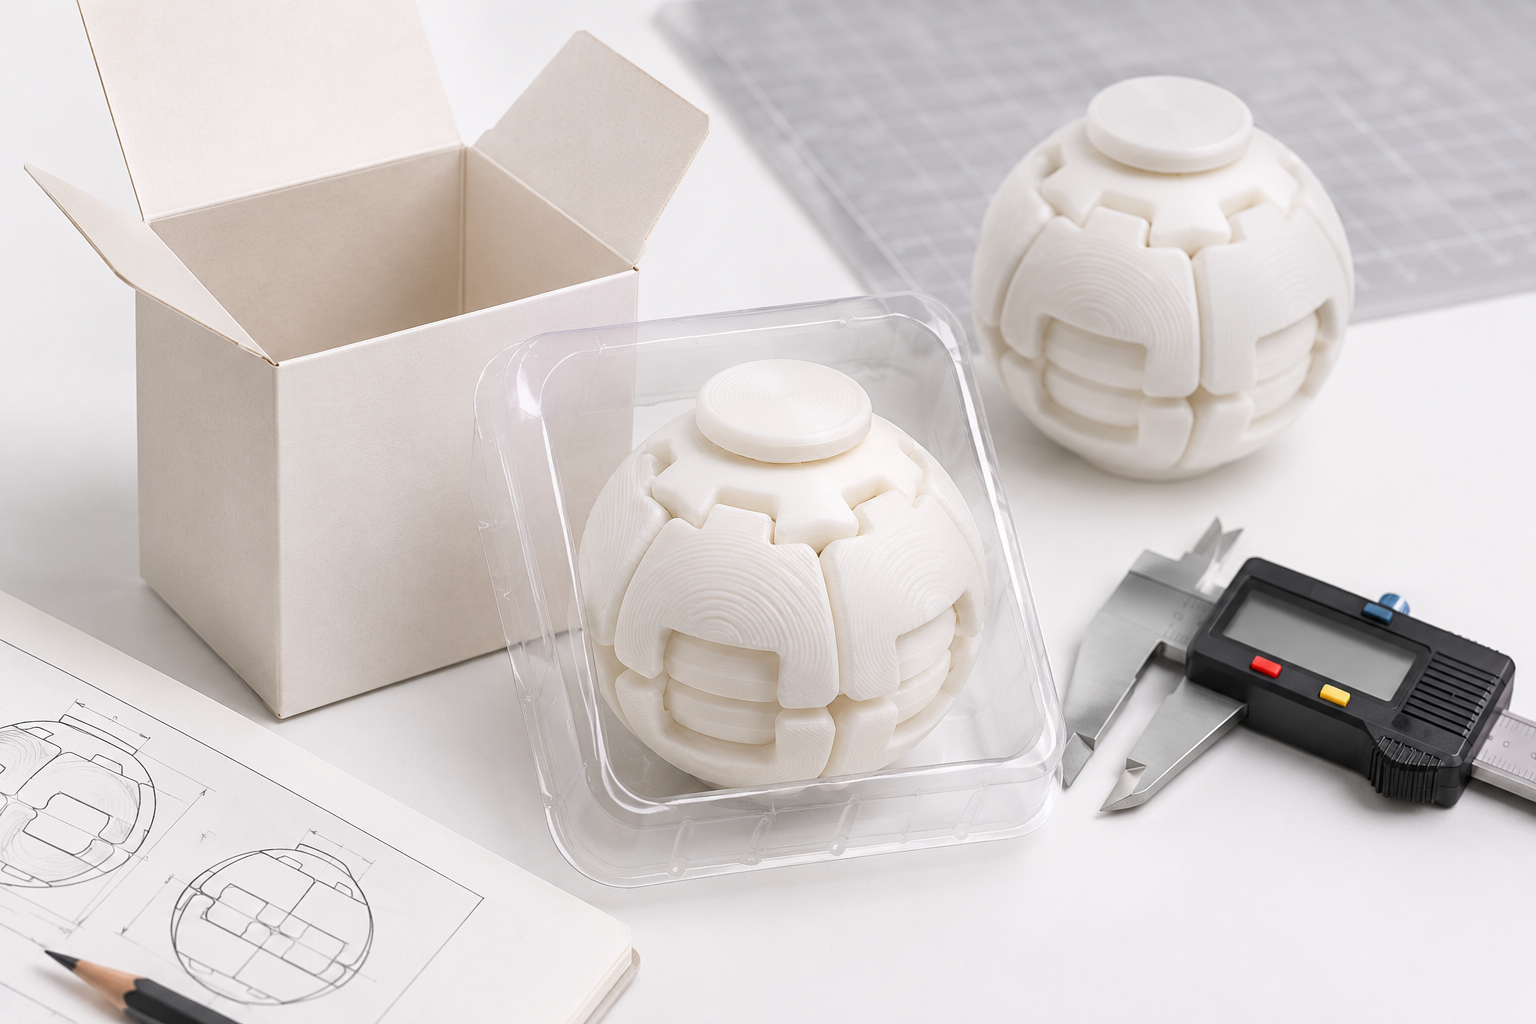
Before releasing final tooling drawings, sourcing teams use 3d printed prototypes for custom toy molds to validate packaging dielines:
- Inner Box Clearance Checks: Placing the physical 3D print inside a mock folding carton or thermoformed blister cavity confirms whether protruding ears, horns, or tails press against window films.
- Countertop Display Arrangement: Arranging multiple printed units inside a prototype 12-piece display box verifies how the assortment looks from shopper eye level and helps assess presentation; shipping-carton efficiency still requires a packing trial.
- Safety Geometry Screening: Early models allow a preliminary review of protrusions and separable parts against the design brief and relevant ASTM F963 toy safety standard; this is not a substitute for testing molded production samples. For proprietary characters, review potential conflicts using USPTO trademark search resources before committing to tooling.
Validating packaging and safety geometry early saves time across parallel development tracks.
Establish Revision Sign-Offs Before Tooling Release
To avoid version confusion between design teams and overseas toolmakers, every prototype round requires disciplined documentation.
When managing 3d printed prototypes for custom toy molds, project managers label each physical print with a revision code and date, record redline dimensional adjustments in writing, and lock finalized STEP/IGES CAD files upon sign-off. To discuss custom 3D development, prototyping feasibility, and tooling options through our OEM and ODM customization services, share your concept drawings and target order volume with our engineering team.
Read More