A strong custom squishy toy design should still feel like the original idea after it becomes a physical product. The difficult part is deciding which parts of the concept are essential before a factory translates artwork into a three-dimensional object.
Buyers do not need to engineer every manufacturing detail themselves. They do need to define what the product must communicate, how it should feel in the hand, and which visual features cannot disappear during development.
Table of Contents
Start With the Feature the Buyer Is Actually Selling
Before discussing materials or tooling, identify the feature that makes the product worth buying.
For a food squishy, it may be the silhouette or realistic surface treatment. For a character design, it may be the face or proportions. For a sensory product, the hero feature may be softness, resistance, or slow recovery rather than appearance.
A custom squishy toy design becomes easier to develop when those priorities are ranked.
A buyer might say:
“The rounded body and facial expression must stay. The surface texture can be simplified, and the factory can recommend the best way to apply the color.”
That is more useful than “make it exactly like the drawing.” It tells the development team where they can solve production problems without changing the reason the product exists.
Buyers who want the wider development sequence can also review our guide to custom squishy toys, while Vilora’s OEM & ODM process shows how a concept moves from design and sampling into production.
A 2D Concept Changes When It Becomes a 3D Product
A front-view illustration can hide a surprising number of unanswered questions.
What does the back look like? How deep is the body? Does an ear, topping, or accessory still look correct from the side? Should the base be flat enough to stand? Does the silhouette remain recognizable from above?
A three-dimensional product has volume, balance, transitions, and surfaces that flat artwork may never define.
Protolabs describes design-for-manufacturability analysis as a way to identify geometry that may need adjustment before manufacturing. The principle is straightforward: review geometry while changes are still relatively easy to make.
For buyers, that means checking the concept from several angles before treating the visual design as final.
Decide What Should Be Shape—and What Should Be Decoration
Not every line in the artwork needs to become physical geometry.
A smile can be molded, printed, or painted. A color boundary may follow a raised feature, or it may exist only as decoration. Small graphic details may look better when they remain flat instead of becoming tiny molded features.
For custom squishy toy design, separate the product into three layers:
- core silhouette
- molded or structural details
- surface decoration
If the expression changes but the base geometry stays the same, the change may be handled through decoration. If the ears become longer or the profile changes, the physical design itself may need revision.
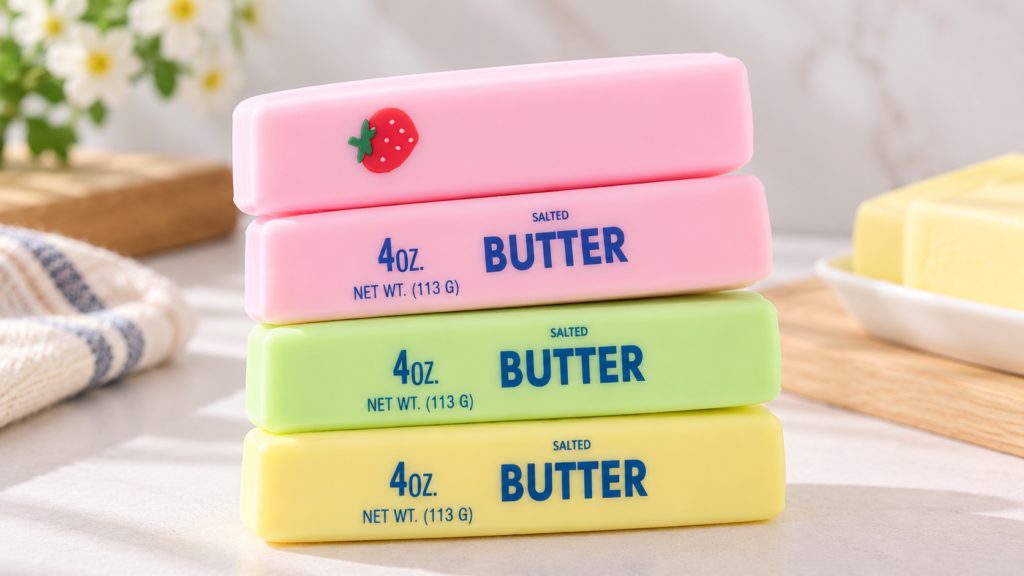
Vilora’s Realistic Butter Stick Squishy is a useful product example. Its recognizable butter-stick form, soft slow-rising feel, and retail display format each contribute to the finished product in a different way.
Design for manufacturing also favors removing unnecessary complexity when it does not improve function or customer value. Autodesk emphasizes considering production constraints early rather than after a design has already been locked.
Size Can Change a Custom Squishy Toy Design More Than Buyers Expect
Changing an 8.5 cm concept into a 15 cm product is not always a simple scale-up.
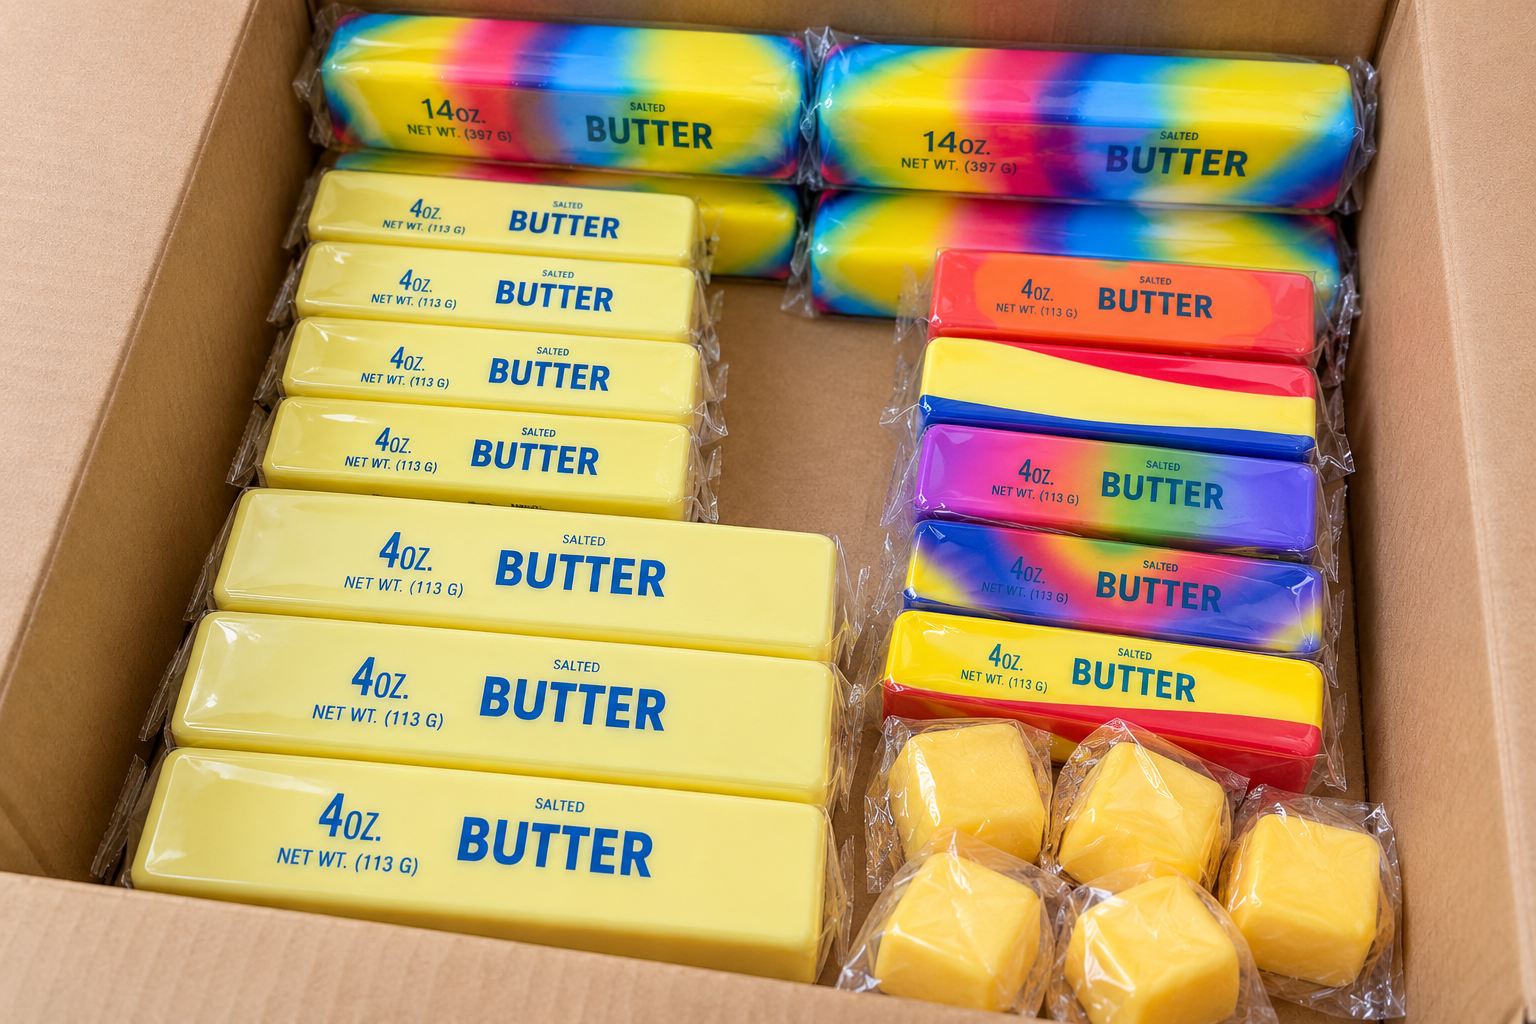
Proportions that look balanced at one size may feel empty or exaggerated at another. A face may need to move. A molded line may need to become wider. A subtle feature may disappear on the smaller version.
Size can also change how the product feels when squeezed. A larger body may compress differently, require more material, or recover at a different rate.
This is why a custom squishy toy design should be reviewed at its intended production size rather than approved only as artwork on a screen.
For regular and jumbo versions, buyers should decide whether they want an exact enlargement or two related products optimized for their own scale.
Those are different design goals.
Squeeze Feel Is Part of the Product Design
For squishies, touch is part of the design language.
Two products with the same shape can create very different impressions if one feels dense and resistant while the other compresses easily and recovers slowly.
Useful language is more specific than “soft.”
Should the product compress with light pressure? Rebound quickly or slowly? Hold its shape after repeated squeezing? Is the appeal a smooth surface, a filled interior, stretch, resistance, or slow recovery?
Those answers influence development even when the external custom squishy toy design stays unchanged.
The buyer does not need to specify a factory formulation. The goal is to define the tactile result clearly enough that the manufacturer can work toward the right physical experience.
Freeze One Production-Ready Design
The design stage should end with one clearly identified version.
That reference may include final dimensions, front and side views, color references, decoration placement, a physical sample, and short notes showing which features are critical. The production team should not have to choose between conflicting images in an email thread.
Once a custom squishy toy design is approved, later changes should be treated as controlled revisions rather than casual updates.
Design freeze is the point where a creative idea becomes a controlled manufacturing reference.
A successful custom squishy toy design does not need to preserve every line from the first sketch. It needs to preserve the features that make the product recognizable, desirable, and practical to reproduce.
When silhouette, scale, decoration, tactile experience, and final reference all support the same idea, the factory is no longer trying to interpret a concept.
It is preparing to make a product.
Read More: Customization Guide · OEM Guide · Buying Guide