
Learning how to make squishy toys at home can start with paper, clear tape and a little soft stuffing. This version is a squeezable paper craft: you draw the character, build a shallow pocket and fill it lightly.
Expect a different feel from a store-bought squishy. Paper can crease, taped edges can wear, and the finished piece will not behave like molded foam or a filled elastic toy.
If you want to learn how to make squishy toys without mixing silicone or molding plastic, the paper method keeps the project focused on drawing and assembly.
Table of Contents
Set Up a Small Paper-Craft Station
Gather two sheets of paper, markers or colored pencils, clear packing tape, scissors and clean polyester fiberfill. WheatonArts uses these basic materials in its paper squishy workshop.
Follow the craft supplies’ age guidance and arrange adult help with cutting and tape handling as needed. Keep loose stuffing and scraps contained while you work.
Start with a broad shape, such as a rounded square, bun or simple animal face. Narrow legs and pointed ears create more awkward edges to join. You can draw those features inside the outline instead.
For anyone figuring out how to make squishy toys for a group activity, prepare matching front-and-back outlines in advance. Leave the faces blank so each person can add an expression or pattern.
Keep the first design uncomplicated. A large face and a few colors remain easy to recognize when the paper changes shape under a gentle press.
Build the Toy in Five Stages
These stages combine the basic paper-pocket method with a simple design plan. Treat your first piece as a practice version rather than expecting a polished retail finish.
Draw the front. Sketch your outline on one sheet and decorate it while the paper lies flat. Let any wet decoration dry before taping.
Cut a matching pair. Cut out the front, trace its outside edge onto the second sheet, and cut the back. Place them together to check that the outlines match.
Cover and join. Cover both outer faces with strips of clear tape. Join the edges with tape folded around the front and back, leaving an opening for stuffing. Work around curves with shorter pieces.
Add a little filling. Introduce small tufts of fiberfill through the opening. Spread them through the pocket without packing it tightly. WheatonArts specifically advises against overfilling.
Close the opening. Fold tape across the remaining gap and press the edges together. Check the entire outline for loose corners or exposed filling.
When learning how to make squishy toys from paper, it helps to pause between stages. Fixing two mismatched cutouts is easier before they are taped and filled.
Mark the planned opening on your sketch before assembly. Save the outline so you can reuse it when showing someone else how to make squishy toys.
Check the Result Before Making Another
Press the center gently, then release. Look at the edge joins and see whether stuffing stays contained. This is a basic craft check, not a durability certification.
Learning how to make squishy toys includes adjusting the next attempt. If filling bunches at one side, redistribute it before closing the pocket. If the outline is difficult to join, simplify the next shape. If the first piece feels overstuffed, use less filling next time.
If a piece tears and starts losing stuffing, set it aside rather than repeatedly covering the damage with tape. Clear away loose material before continuing.
For a second attempt, change one thing: the outline, the decoration or the amount of stuffing. Comparing two versions is easier when every feature has not changed at once.
People searching for how to make squishy toys may also encounter foam-cutting tutorials. Crayola’s DIY Squishies project, for example, uses shaped memory foam and paint. That is a separate method; its drying instructions do not apply to this taped-paper project.
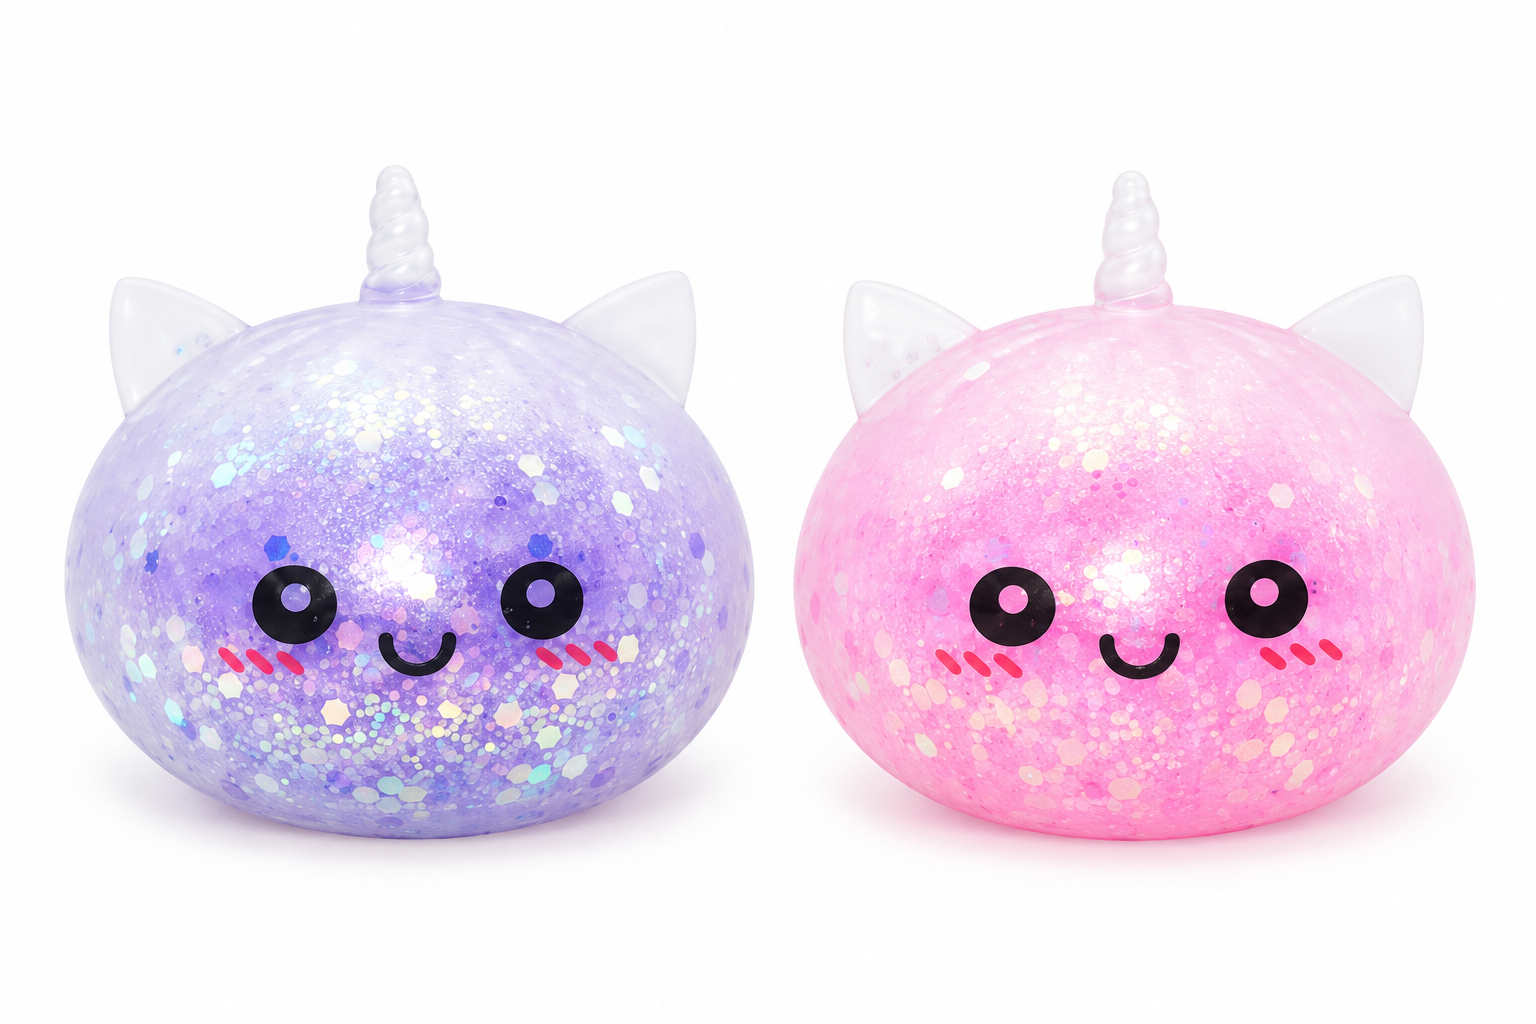
Commercial products are different again. Vilora’s Unicorn Glitter Dumpling Squishy lists TPR material with decorative beads and glitter. It is a finished manufactured toy, not a kit or a model for this paper method.
Our explanation of how stress balls are made follows industrial manufacturing routes. The paper project here involves cutting, decorating and joining ready-made craft materials.
Knowing how to make squishy toys from paper gives you a starting point for trying your own shapes. Save your outline, note one change you would make, and use that observation for the next version.
Read More