
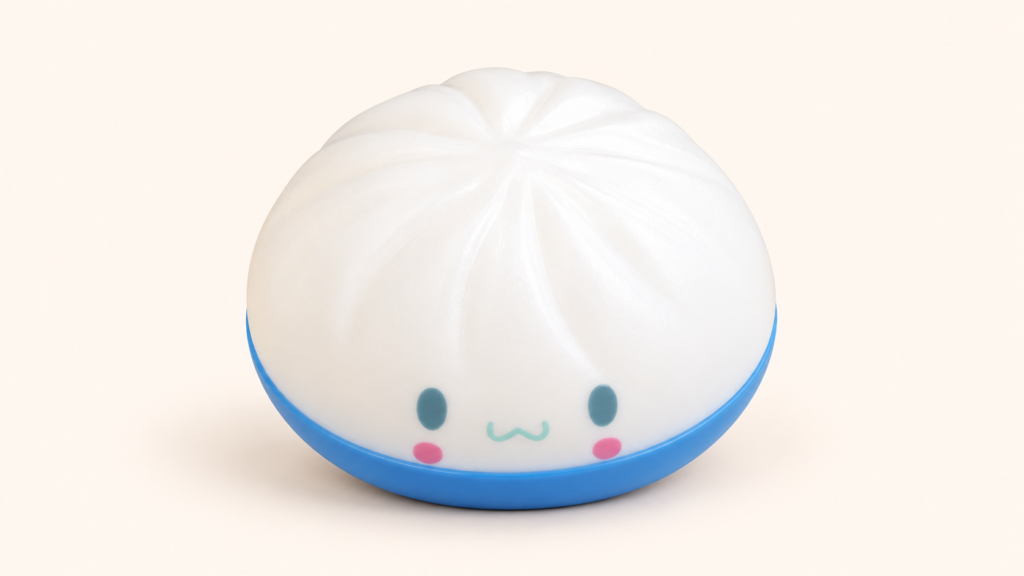
Learning how to make a mochi squishy starts with a soft silicone casting kit: measure its two components, mix them as directed, pour into a compatible mold, and let the material cure before releasing the shape.
This creates a molded body without a separate stuffing step. It is one craft approach, rather than a formula for every miniature toy described in our Mochi squishy guide.
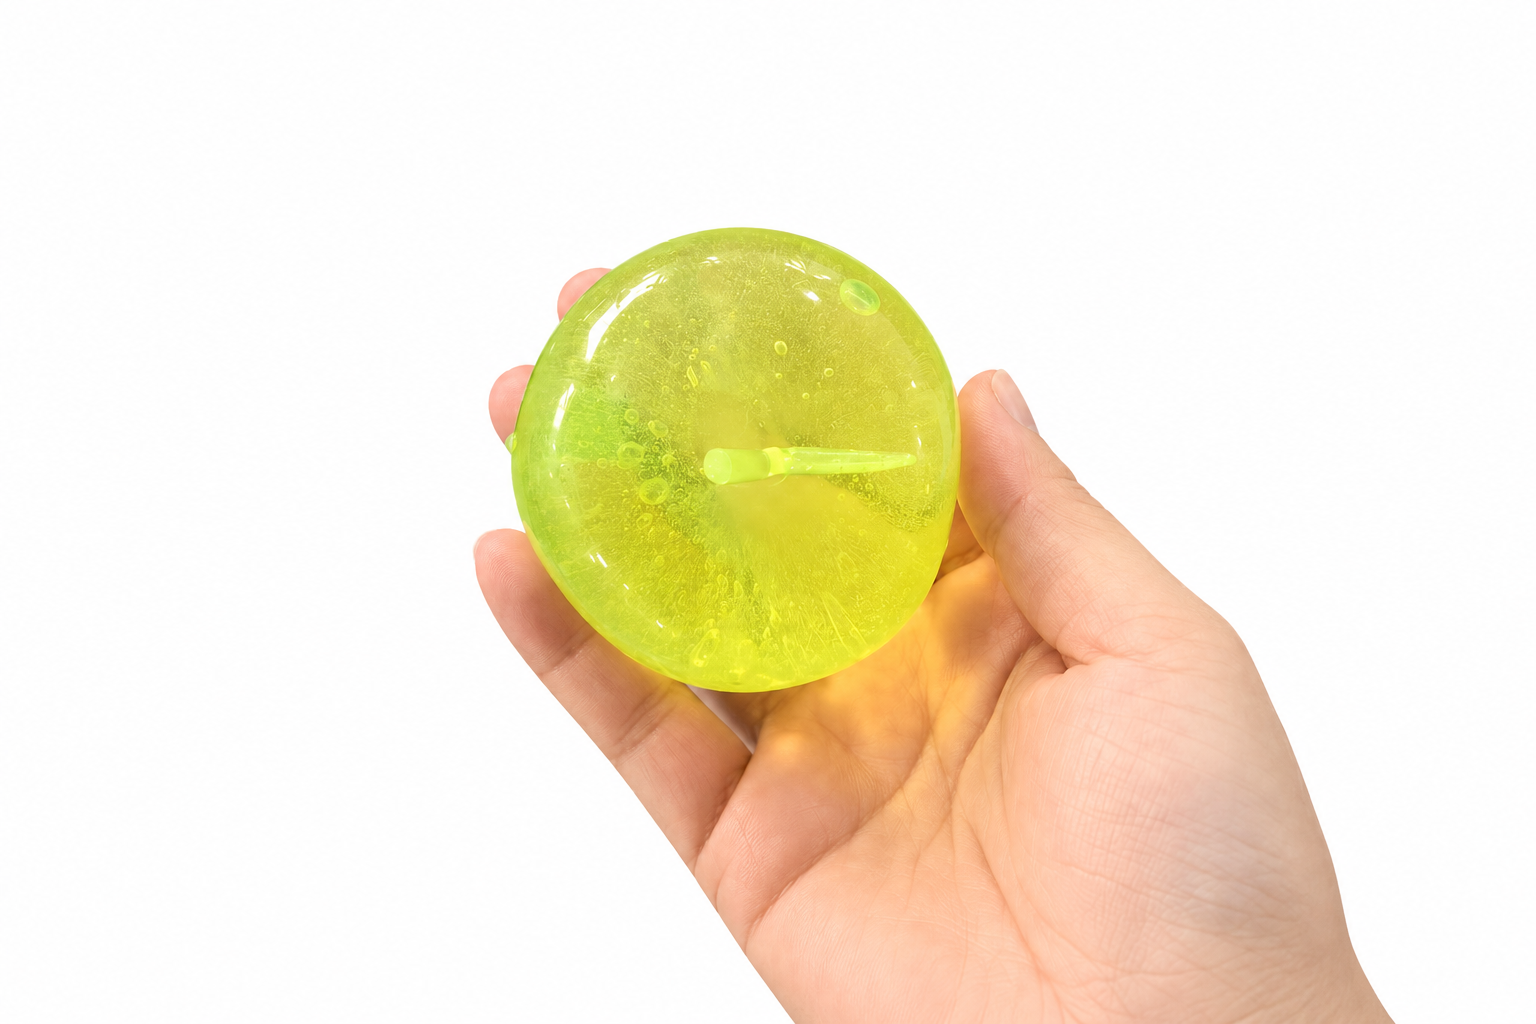
The useful details are in the measurements and handling. “Equal parts” needs a measuring method, and a finished-looking surface does not replace the kit’s stated cure time.
Table of Contents
Get the Measurement Right Before Mixing
For anyone researching how to make a mochi squishy, the first practical question is whether the kit specifies a ratio by weight or by volume. These describe different measurements. Grams measure mass; milliliters measure volume.
The LET’S RESIN four-animal kit guide specifies a 1:1 ratio by weight. For that ratio, 15 grams of component A requires 15 grams of component B, giving 30 grams total before any permitted additions. This illustrates the calculation, not the amount needed for a particular mold.
Place the empty mixing cup on the scale and zero it before weighing. If you weigh both components in that cup, distinguish the second component’s weight from the running total: after 15 grams of A, the combined reading would reach 30 grams when another 15 grams of B has been added.
Knowing how to make a mochi squishy also means separating the mold from the casting material. FUNSHOWCASE lists Mochi squishies among the possible uses for its soft silicone kit, while explaining that its liquid is not intended for making molds.
Before opening the bottles, arrange the protective equipment, ventilation, and workspace required by your kit. Keep the materials away from food and follow the product’s age restrictions.
Mix the Whole Cup, Then Leave the Mold Alone
The next part of how to make a mochi squishy happens inside the mixing cup. Moving a stick through the center is not the same as incorporating material along the sides and bottom. Work through the full mixture using the technique and mixing time specified for the kit.
FUNSHOWCASE expressly tells users to mix in a measuring cup rather than directly in the mold, including material at the bottom and edges. Prepare any required mold-release treatment before the mixture is ready to pour.
Color requires the same attention. Use pigments approved for the selected formulation, in the stated amount. A colorant that works in one silicone system is not automatically suitable for another.
When learning how to make a mochi squishy, keep mixing time, bubble-rest time, and cure time separate. They are different parts of the process. A timer started when stirring begins does not necessarily mark the start of the full curing period.
LET’S RESIN’s animal-kit tutorial specifies a four-to-six-hour cure after pouring. Use that timing only for the corresponding product and conditions. Leave the mold on a stable surface where you will not need to move it during that period.
Ease the Mold Away From the Finished Body
The last delicate step in how to make a mochi squishy is releasing the cured shape. Pulling on a tiny ear or tail concentrates force on a narrow section. Instead, follow the kit’s release method and gradually ease the mold away from the body.
LET’S RESIN specifies water-assisted demolding for its animal project and warns that forceful dry removal can tear the piece. That is a product-specific technique, not an instruction to soak every kind of squishy.
Inspect the undecorated casting first. Look for torn edges, liquid residue, or areas that appear incompletely cured. Ask the kit supplier about an unexpected result before adding decorations or handling it further.
Readers learning how to make a mochi squishy may be tempted to add the face immediately. Let the body complete its required cure and post-demolding treatment first, then use compatible finishing supplies.
Set the finished character beside its empty mold. Check whether the outline released intact and whether small features survived removal. Those observations give you something concrete to improve on the next casting.
Read More