
“Can you put our logo on this one?”
The product photo looks promising. There is an open patch on the body, and the logo looks sharp on the buyer’s laptop. The supplier says printing is possible.
That still leaves an important question unanswered: at what size?
Promotional toy imprint area planning helps buyers resolve that question while alternative products are still on the table. The objective is to select a shape that supports the brand artwork without forcing essential details into unreadable type.
Three adjustments can help: compare the usable print area, preserve the logo’s proportions, and inspect the result at its actual size.
Table of Contents
Compare the Print Area Before Comparing Toy Sizes
Overall product dimensions describe the object. Imprint dimensions describe the area available for a particular decoration method and location.
Those measurements can be very different.
A larger character may have ears, raised facial details, curved surfaces, or seams that interrupt the apparent blank space. A smaller rectangular product may provide a more useful uninterrupted area.
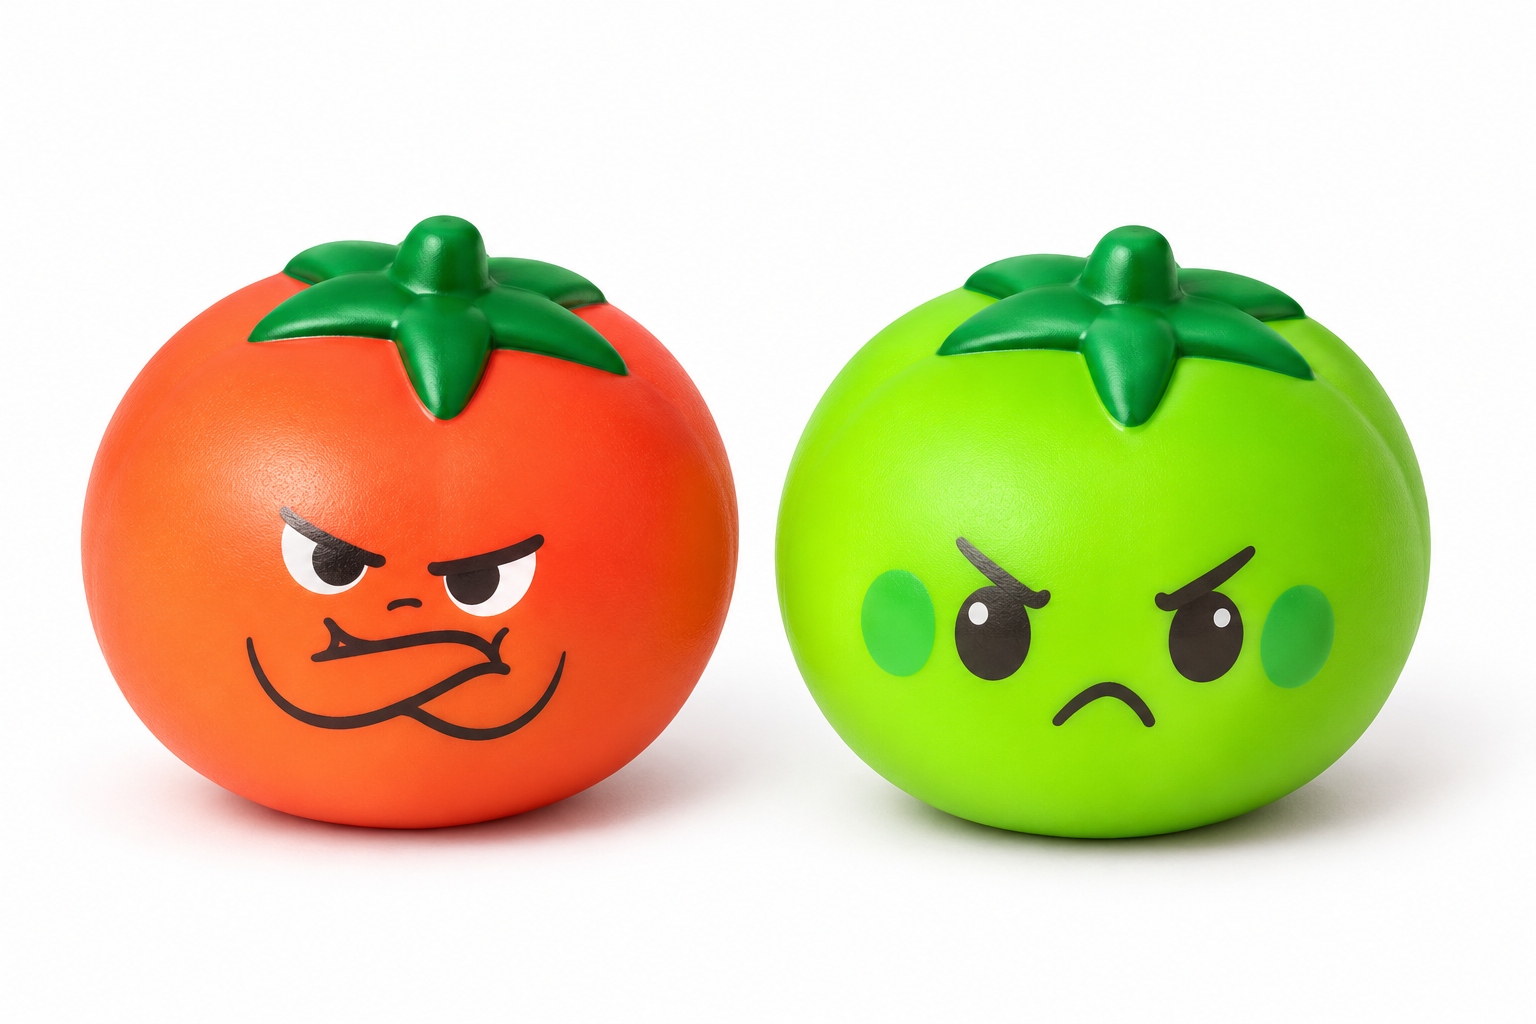
For promotional toy imprint area planning, request a dimensioned template showing the proposed location, usable width and height, and any areas the artwork must avoid. Confirm whether the stated measurements describe a rectangle, a circle, or another boundary.
For example, WOWLine’s building-block stress reliever listing separates the product’s dimensions from its front and back imprint dimensions and specifies a printing method. Those limits apply to that item, not to every similarly shaped toy.
When comparing products in a squishy toy range, collect the same information for each candidate. A product photograph with a logo placed over it is useful for discussion, but it does not establish a printable boundary.
The broader custom squeeze toy guide covers product development. This review helps narrow the shortlist: does the candidate offer enough suitable space for the artwork you need?
Fit the Artwork Without Changing Its Proportions
Consider an illustrative logo measuring 60 mm wide by 20 mm high—a width-to-height ratio of 3:1.
If the supplier confirms a usable area of 30 × 12 mm, proportional scaling reduces the logo to 30 × 10 mm. It fits within the stated rectangle.
Now consider a second product with a 20 × 20 mm imprint area. The same logo becomes approximately 20 × 6.7 mm.
The second area has more total surface area, but it produces a smaller version of this wide logo.
This is where promotional toy imprint area planning becomes more useful than comparing square millimeters. The logo’s proportions need to match the available print area.
Do not stretch the logo vertically to fill unused space. Request an approved stacked or compact brand lockup if one exists. If the brand requires clear space around its mark, include that requirement when testing the fit.
Orientation also matters in promotional toy imprint area planning. Identify which side faces the recipient and how the item will normally sit or be held. Turning a wide logo sideways may solve a mathematical fit while making the finished product awkward to read.
Judge the Smallest Detail at Actual Size
A logo that fits can still fail the readability test.
Print the proposed artwork at its stated dimensions, with automatic “fit to page” scaling disabled. Check the company name, tagline, thin strokes, small gaps, and reversed lettering. A paper check helps reveal scale problems, although it cannot reproduce the toy’s curvature, texture, or printing behavior.
Promotional toy imprint area planning should include supplier confirmation of minimum reproducible detail for the actual product and process. Avoid applying a universal font-size or line-width rule across foam, flexible TPR, and other constructions.
LINHAO’s logo-printing and packaging guide likewise discusses choosing branding methods around the product’s material and shape. A method suitable for one construction should not be assumed suitable for another.
If the full artwork becomes too small, compare practical alternatives:
- Use a brand-approved simplified mark on the product.
- Select a different shape with a better-matched print area.
- Place supporting text on a card, sleeve, or package.
For a character product such as a unicorn squishy toy, ask whether an alternative location is technically suitable before choosing it. Neither a blank-looking surface nor a larger body guarantees a larger imprint.
Keep promotional toy imprint area planning separate from final production approval. Record the selected SKU, location, artwork version, proposed print dimensions, and unresolved technical questions, then carry those details into the proof and sample review.
The useful outcome of promotional toy imprint area planning is a product shortlist that already works with the brand. That helps buyers avoid choosing a product only to discover that the logo becomes unreadable at the available print size.
Read More