Custom packaging is often treated as a graphic-design task: choose a box, add the logo, approve the artwork, and print. With squishy toys, that order can create expensive revisions.
The package has to fit a product that is soft and compressible. A window that looks right in a rendering may press against the toy. An insert can hold it neatly or leave a dent. Even a small change in product size can affect the dieline.
Good custom squishy toy packaging therefore starts before the artwork. Product fit, package structure, required information, and shipping format should be settled first. Once those decisions are stable, the designer has a package that can actually be produced.
Table of Contents
Custom Squishy Toy Packaging Starts With the Product, Not the Artwork
The first packaging measurement should come from the real product or an approved physical sample, not only from the original CAD dimensions.
A squishy may expand slightly after demolding, compress inside a bag, or sit differently depending on its shape. A round dumpling, a long butter bar, and a jumbo character do not need the same clearance even if their listed dimensions look similar.
For custom squishy toy packaging, the factory should confirm how the toy will sit inside the package before the final dieline is locked. The buyer also needs to decide whether the product should be tightly presented, loosely packed, or intentionally compressed.
That choice can influence box dimensions, insert design, window position, packing speed, and eventually the master carton.
A Window Changes the Structure, Not Just the Look
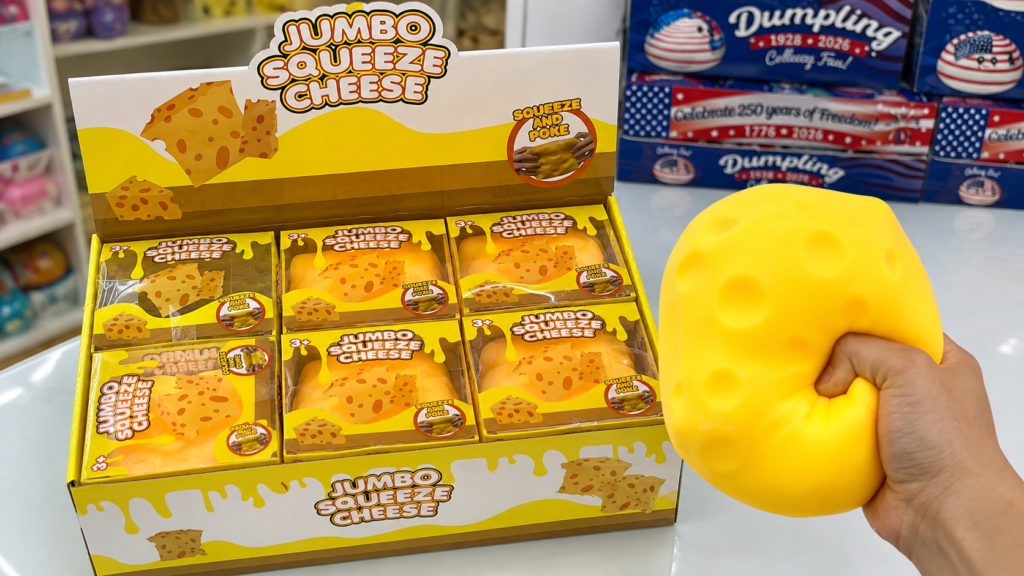
Window boxes can work well for tactile and character-driven products because shoppers see the actual toy instead of relying only on printed artwork. But the opening has to be designed around the product’s real position.
If it is too large, the product may shift. If it is too small, a face, logo, or important feature may disappear behind the board. A soft toy can also push forward against the window during packing or transport.
Before artwork begins, place a physical sample into a blank mock-up and look at it from the shelf-facing angle.
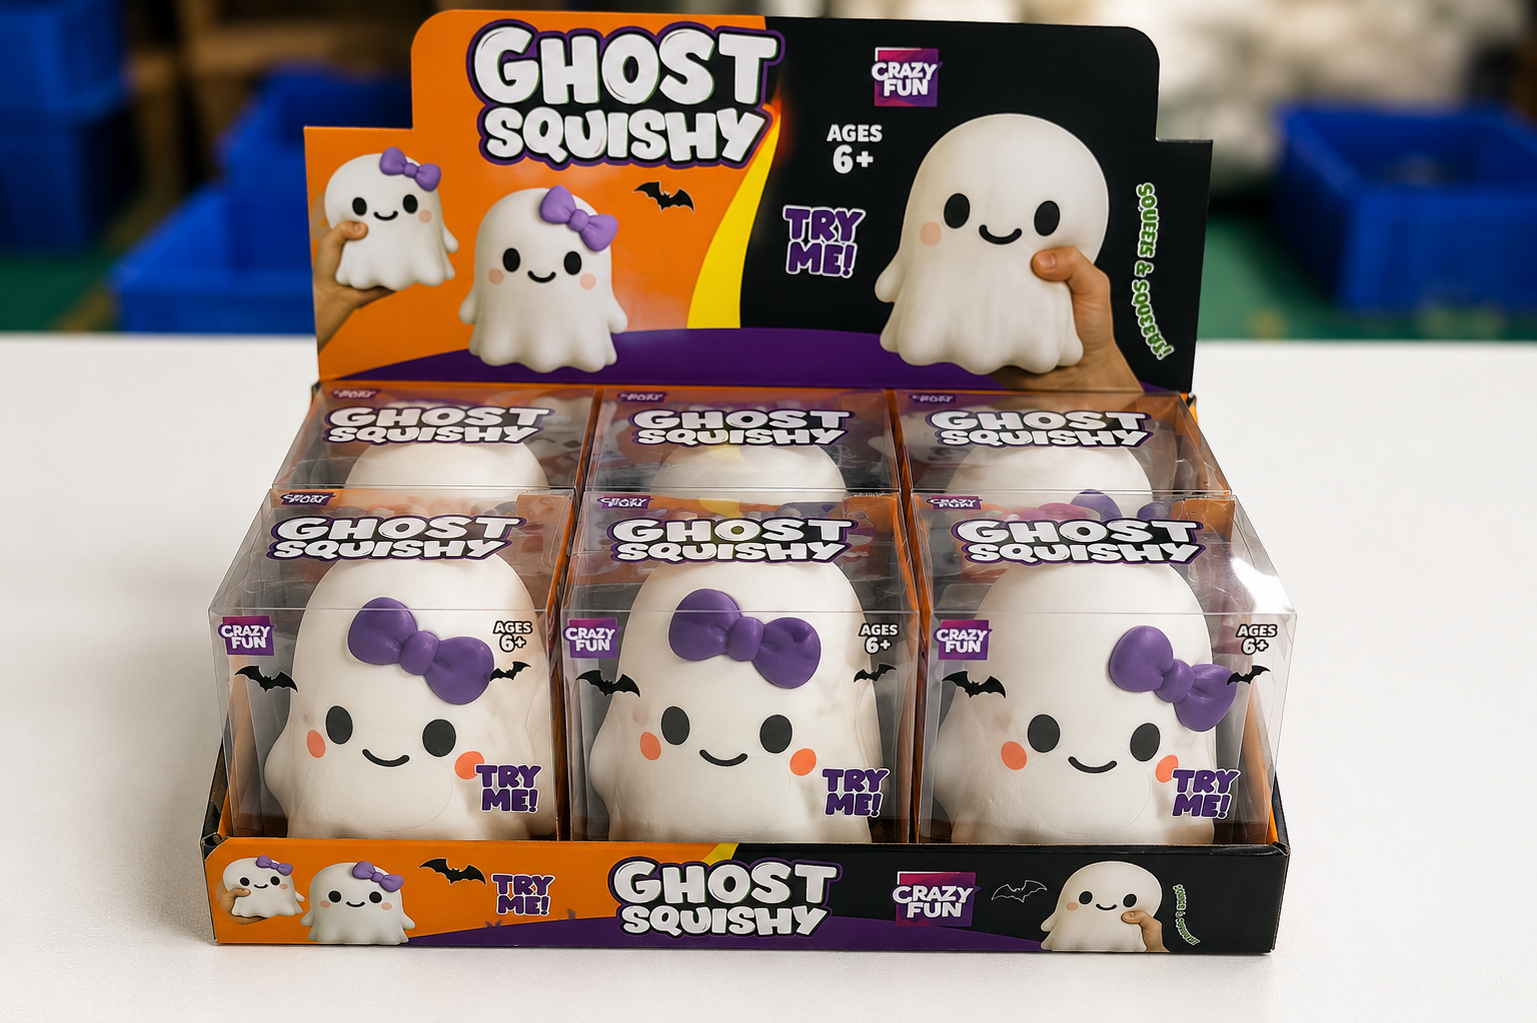
Does the face sit in the center? Is the product rotated? Does the package still look good if the squishy moves a few millimeters?
That simple check is more useful than approving a perfect rendering that has never been tested with the actual toy.
Do Not Build the Artwork on a Temporary Dieline
Once the box structure and product fit are approved, the packaging supplier can provide the production dieline. It defines the cuts, folds, glue areas, flaps, windows, and other structural elements the artwork has to respect.
Changing dimensions after design work is complete can force the artwork to be repositioned or rebuilt. Packaging prepress specialists also treat dieline alignment as a core check because artwork must match the structure that will actually be cut and folded.
For custom squishy toy packaging, this creates a useful approval boundary: product and structure first, final dieline second, artwork third.
If several sizes or SKUs are being developed together, the buyer should also know exactly which artwork belongs to which dieline.
The Back Panel Can Derail a Packaging Schedule
The front panel gets most of the creative attention. The back and side panels often carry the information that causes last-minute changes.
A U.S. children’s product may need tracking information on the product and its packaging, to the extent practicable. Other warnings or labeling requirements depend on the product, its design, components, and intended age group. Those details should be reviewed for the actual SKU and target market rather than copied from another toy.
Retail barcodes need usable space too. GS1 US advises against truncating a UPC simply to make it fit and calls for clear quiet zones around the symbol so scanners can read it reliably.
Custom squishy toy packaging should therefore reserve practical areas for the barcode, tracking information, applicable warnings, brand or importer information, and other market-specific copy before the artwork becomes crowded.
The problem is usually not the existence of these elements. It is discovering too late that there is nowhere sensible to place them.
The Package Sample Should Hold the Real Squishy
A digital proof can catch spelling, color, and layout problems. It cannot show how a soft toy behaves inside a finished package.
Before mass printing, load the actual squishy into a physical packaging sample and leave it there long enough to see how the soft body settles inside the structure.
Check whether the toy rotates, presses against the window, develops a temporary flat spot, or becomes harder to remove after sitting packed.
Then look at the package again from the customer-facing side. The product may technically fit while still sitting too low, leaning to one side, or hiding an important design detail.
Compare it with the approved sample rather than an early prototype. If the product changed during development, an older sample can give the packaging supplier the wrong dimensions.
Packaging approval can also affect squishy toy lead time. A delayed dieline, revised artwork, barcode change, or failed fit check can hold up packing even when the toys are ready.
Custom Squishy Toy Packaging Has to Survive the Carton Too
Retail packaging is only one layer of the system.
A beautiful box that wastes carton space can increase freight volume. A very tight master carton may reduce movement but crush retail boxes or keep soft products under pressure for too long. Display boxes may also need a different packing orientation from individual retail cartons.
Before approving custom squishy toy packaging, check how many units fit into the master carton, how the retail packs are oriented, and whether the carton dimensions still make sense for the order.
This is where packaging becomes a sourcing decision rather than a design exercise.
Artwork is one of the last things that should become expensive to change. If the product, structure, label space, and carton plan are stable first, the designer can work on a package that is already grounded in production reality.
Read More: Customization Guide · OEM Guide · Buying Guide